If you’re looking for a simple, powerful, and free tool to simulate phishing attacks and train your team on cybersecurity, then Gophish is your go-to solution! This open-source phishing framework allows you to easily manage phishing campaigns, helping to improve security awareness without breaking the bank.
What is Gophish?
Gophish is a powerful open-source phishing framework designed to make the process of conducting and managing phishing campaigns as straightforward as possible. Think of it as your go-to tool for simulating real-world phishing attacks. The best part? It’s free and easy to use!
- Free and Open-Source: No hidden fees – it’s entirely free to use!
- Easy Installation: Gophish is written in Go and comes as a compiled binary, which means you can simply download and run it. No dependencies, no hassle.
- Great for Security Awareness: Perfect for small businesses and teams looking to test and enhance their cybersecurity defenses.
Deploying Gophish on Google Cloud Platform (GCP)
Ready to get started? Here’s how you can deploy Gophish on Google Cloud Platform (GCP) in just a few easy steps.
Step 1: Create a Google Compute Engine Instance
First, you’ll need a virtual machine (VM) on GCP. Follow these steps:
Log into your GCP Console.
Create a new Google Compute Engine instance.
Choose the N1 machine type and leave the rest of the settings as default.
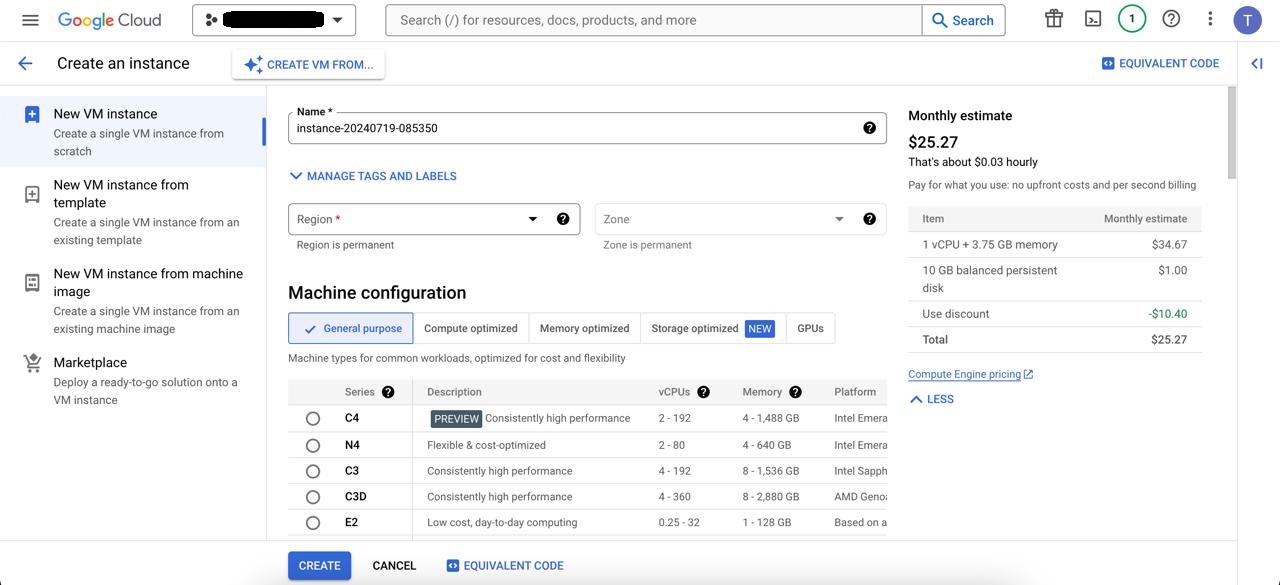
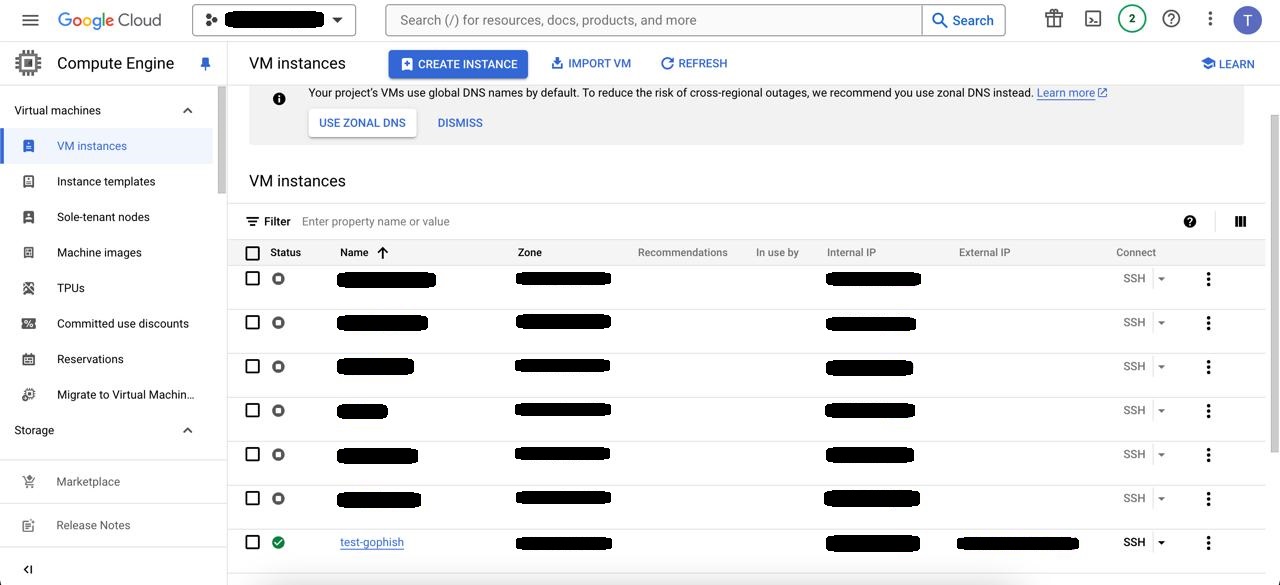
That’s it! You’ve got your VM set up and ready to go.
Step 2: SSH into Your VM
Now, it’s time to connect to your VM using SSH. From the GCP console, click on SSH to get terminal access. Once you’re in, run the following commands:
tomi_mulhartono@test-gophish:~$ sudo adduser -c "Gophish" gophish
tomi_mulhartono@test-gophish:~$ sudo su - gophish
tomi_mulhartono@test-gophish:~$ curl -L https://github.com/gophish/gophish/releases/download/v0.11.0/gophish-v0.11.0-linux-64bit.zip -o gophish-v0.11.0-linux-64bit.zip
tomi_mulhartono@test-gophish:~$ mkdir gophish-v0.11.0
tomi_mulhartono@test-gophish:~$ cd gophish-v0.11.0
tomi_mulhartono@test-gophish:~$ sudo apt-get install unzip
tomi_mulhartono@test-gophish:~$ unzip ../gophish-v0.11.0-linux-64bit.zip
tomi_mulhartono@test-gophish:~$ rm ../gophish-v0.11.0-linux-64bit.zip
Explanation:
- We created a user called “gophish” to keep things organized.
- Downloaded the latest Gophish zip file from GitHub.
- Unzipped the file and cleaned up the download.
Step 3: Configuring Gophish
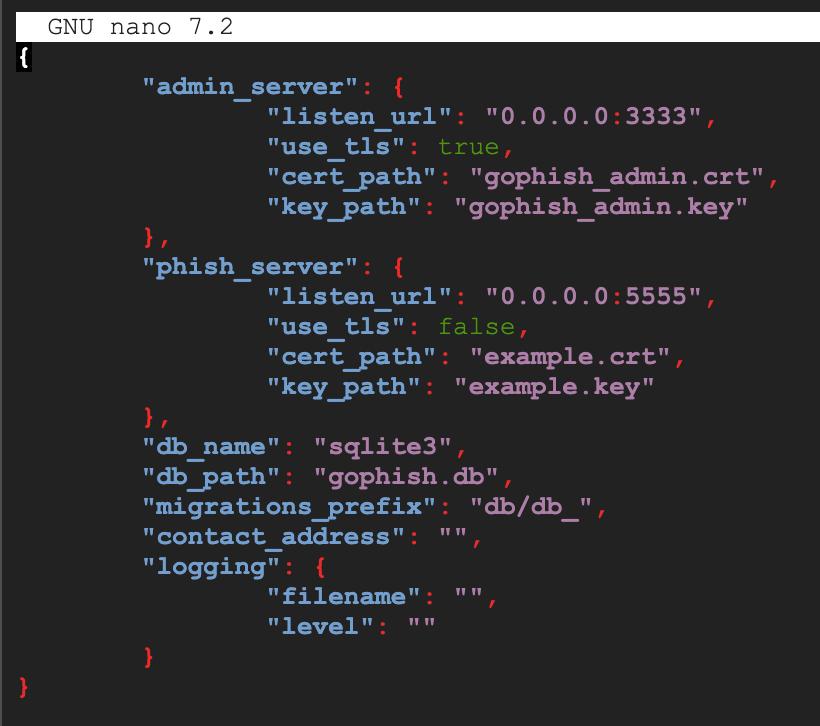
Once Gophish is unzipped, you’ll find a file called config.json. This is where we configure the important settings for your phishing campaigns.
admin_server: This is the server for the admin console. Change the address from
127.0.0.1:3333to0.0.0.0:3333so it’s accessible externally.phish_server: This is where the phishing landing pages live. Change the address from
0.0.0.0:80to0.0.0.0:5555to avoid using privileged ports.
Step 4: Set Up Firewall Rules in GCP
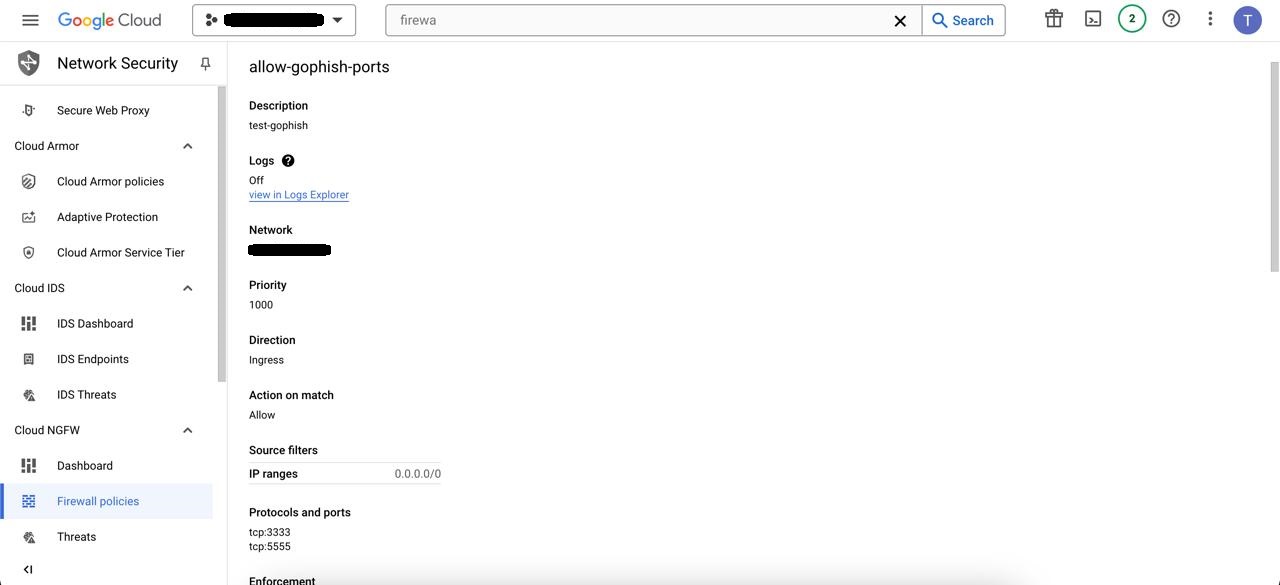
To make sure your Gophish instance is accessible, you need to add firewall rules. Here’s how:
Go to the GCP Console.
From the left menu, select VPC Network and then Firewall rules.
Click Create Firewall Rule.
Create a new rule that allow traffic on ports 3333 and 5555.
Step 5: Start Gophish
You’re almost there! To start Gophish, run this command:
tomi_mulhartono@test-gophish:~/gophish-v0.11.0$ sudo ./gophish
Step 6: Access the Admin Console
Now, you can access the Gophish admin console by navigating to: https://<YOUR_VM_IP>:3333.
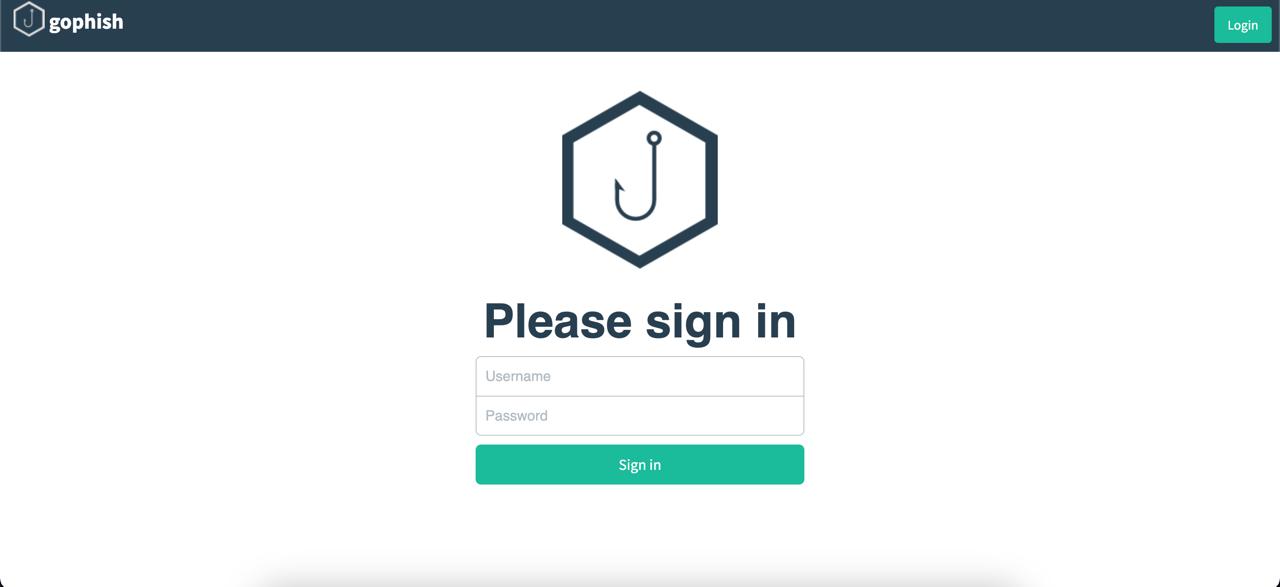
Log in using the credentials provided in your SSH terminal when you started Gophish. You’ll be asked to change the default password on your first login for added security.
What’s Inside?
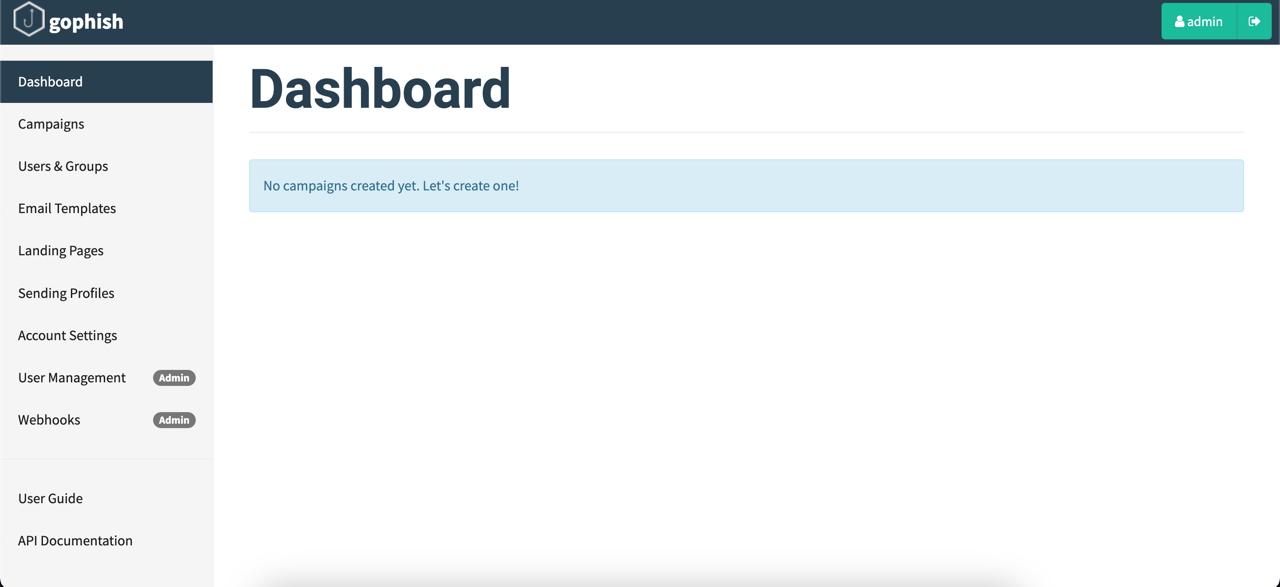
Once you’re logged in, the Gophish dashboard will show you a clean overview of your phishing campaigns. Here’s what you’ll find:
Dashboard: See stats and performance of all your campaigns.
Campaigns: Create new phishing campaigns targeting different teams or departments.
Users and Groups: Add and organize users by email, and import them from CSV files.
Email Templates: Design and manage email templates for your phishing campaigns.
Landing Pages: Build and track the landing pages where your targets will land.
Sending Profiles: Configure the sender details for your phishing emails.
Conclusion
That’s it! You’ve successfully set up Gophish on Google Cloud Platform. With Gophish, you can easily create phishing campaigns to simulate real-world attacks and enhance your team’s cybersecurity awareness.
Get started with Gophish today, and begin testing and strengthening your organization’s defenses against phishing!