If you’re looking to explore security and dive into honeypot analysis, T-Pot is a fantastic tool that consolidates multiple honeypots into one robust platform. Today, I’ll guide you step-by-step through deploying T-Pot on Google Cloud Platform (GCP). By the end, you’ll have a fully operational T-Pot honeypot ready to capture and visualize attack data.
What is T-Pot?
T-Pot, developed by T-Mobile, is an all-in-one honeypot platform supporting over 20 honeypots. It includes features like animated attack maps, visualization through Elastic Stack, and a suite of tools for enhanced threat analysis. This setup will run on GCP using a Debian-based virtual machine (VM).
⚠ Note: T-Pot is resource-intensive. Make sure to use a suitable machine type (like
e2-standard-4) and SSD storage. Running the VM will incur charges, but the costs are manageable if used sparingly for experiments or labs.
Let’s Get Started!
Step 1: Launch a GCP VM
- Go to GCP Console: Navigate to the GCP Console.
- Create a New VM Instance:
- Go to Compute Engine > VM Instances and click Create Instance.
- Set the instance name to
tpot-honeypot. - Choose a Region & Zone: Pick a region and zone close to your location or preference.

- Machine Type: Select
e2-standard-4(4 vCPUs, 16 GB RAM).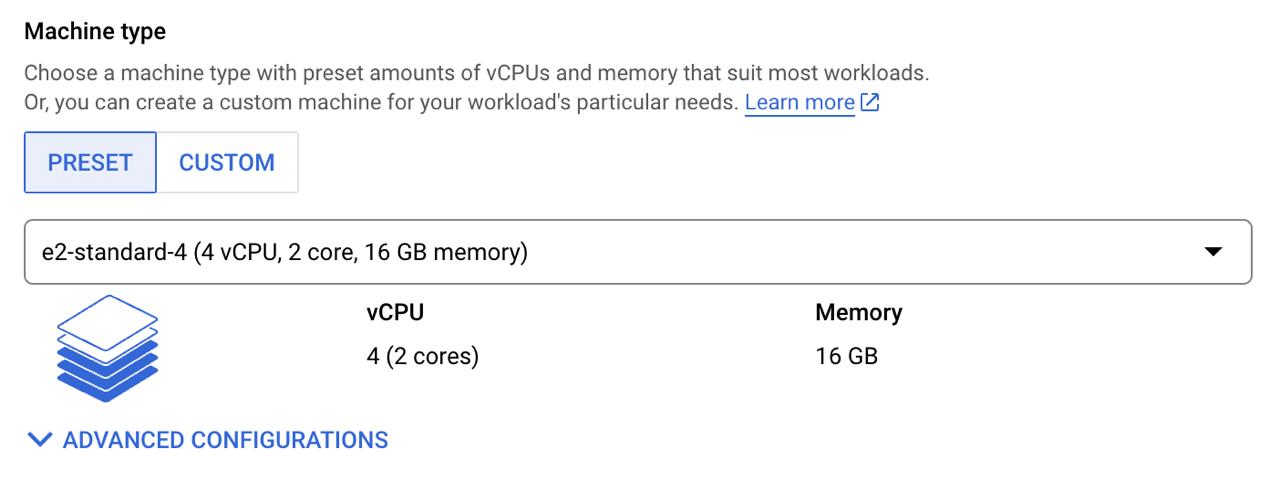
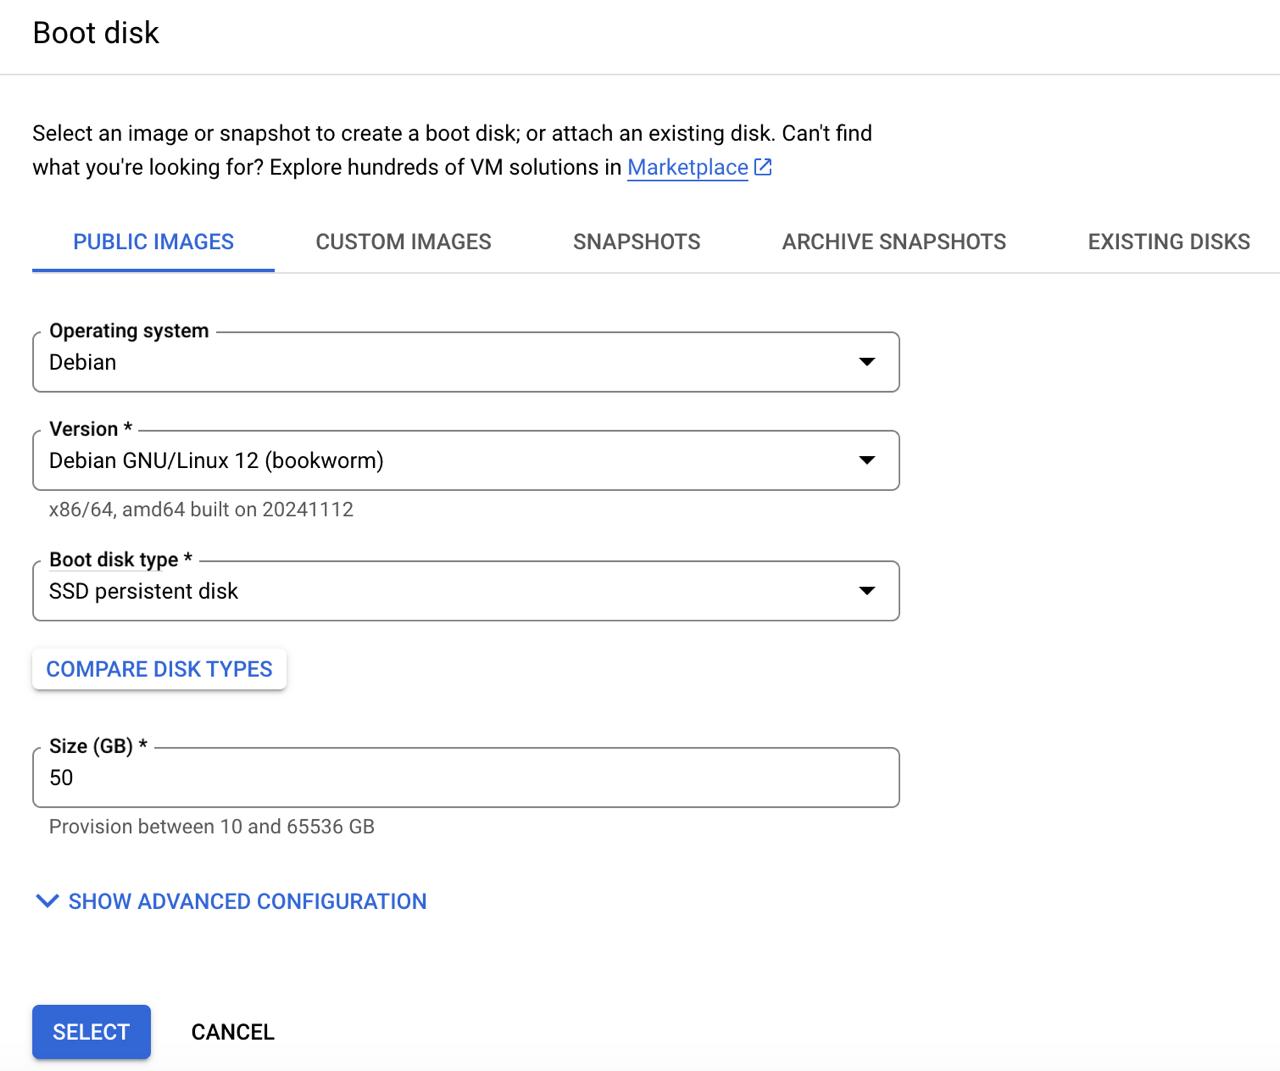
- Boot Disk:
- OS: Debian GNU/Linux 12 (Bookworm).
- Disk Type: SSD Persistent Disk.
- Size: 50GB.
Step 2: Configure Firewall Rules
We need two firewall rules for T-Pot:
- Management Ports: Restrict access to T-Pot management ports.
- Lure Ports: Open a wide range of ports to attract potential attackers.
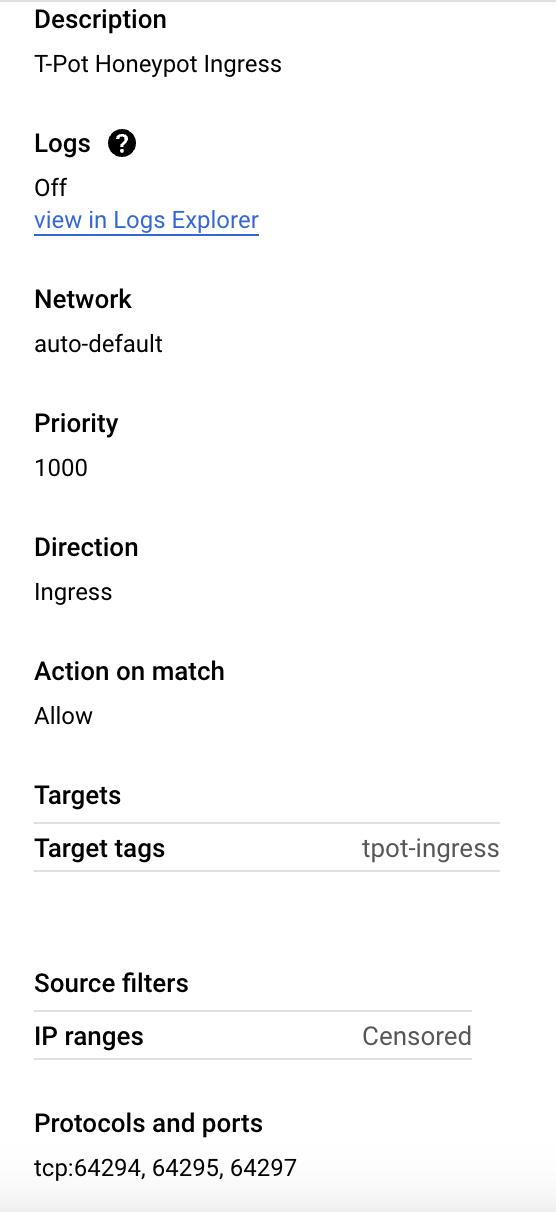
Create Firewall Rule for Management Ports:
Name:
tpot-ingress.Targets: Specific VMs with the tag
tpot-ingress.IP Ranges: Private IP range of your VM (you can get this from the VM details).
Protocols and Ports: Allow TCP on ports 64294, 64295, and 64297.
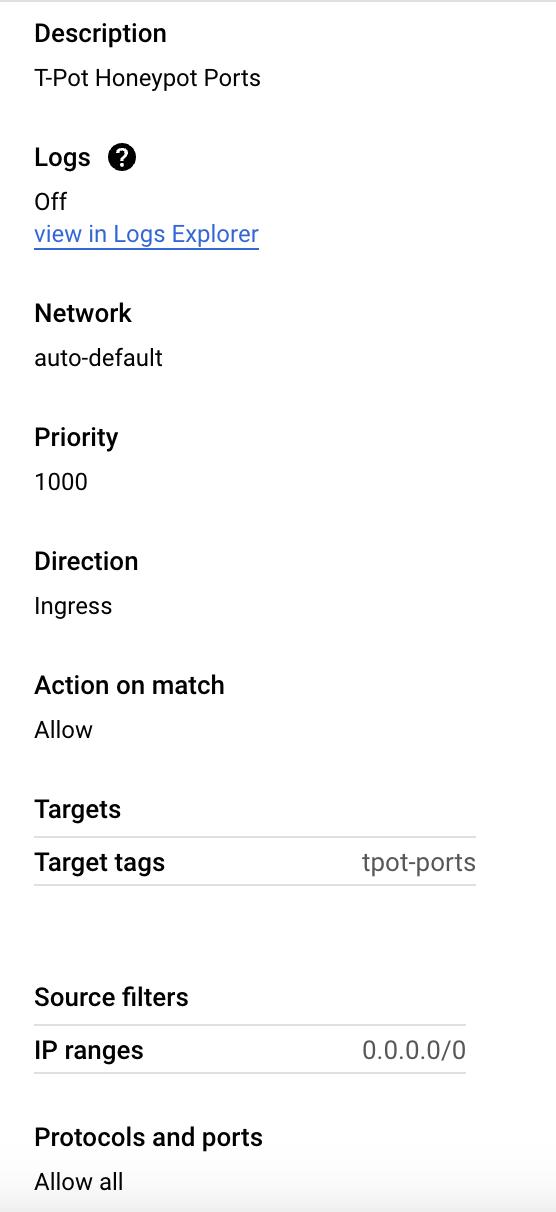
Create Firewall Rule for Lure Ports:
Name:
tpot-ports.Targets: Specific VMs with the tag
tpot-ports.IP Ranges:
0.0.0.0/0.Protocols and Ports: Allow all protocols and ports.
Attach Tags to VM:
Go to your VM instance details.
Add
tpot-ingressandtpot-portstags under Network Tags.
Step 3: Connect to Your VM
SSH into the VM:
Open the SSH terminal for
tpot-honeypotdirectly from the GCP console.Update and install necessary packages:
tomi_mulhartono@tpot-honeypot:~$ sudo apt-get update && sudo apt-get upgrade
Download and Install T-Pot:
Clone the T-Pot GitHub repository:
tomi_mulhartono@tpot-honeypot:~$ git clone https://github.com/telekom-security/tpotce
Navigate to the installer directory:
tomi_mulhartono@tpot-honeypot:~$ cd tpotceRun the installation script:
tomi_mulhartono@tpot-honeypot:~$ ./install.sh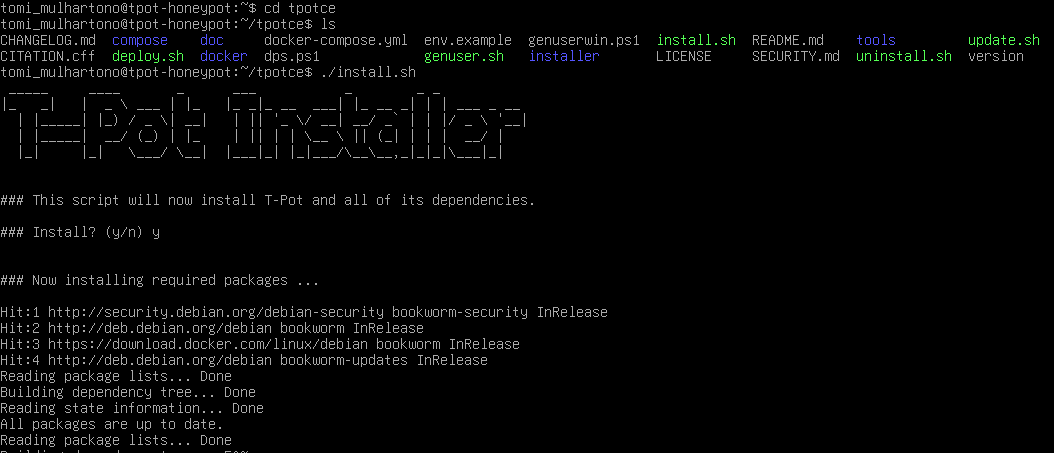
Complete Installation:
- Choose T-Pot Standard / HIVE installation.

- Set a username and password for the Web Admin UI.
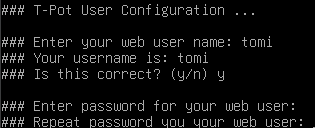
- Confirm and let the script install the necessary components. This might take some time.
- Once installation is complete, your SSH connection will reset because T-Pot disables port 22.

- Choose T-Pot Standard / HIVE installation.
Post-Installation Steps
Reconnect via Port 64295:
- Use SSH to Connect to the VM through GCP Console (Custom Port):
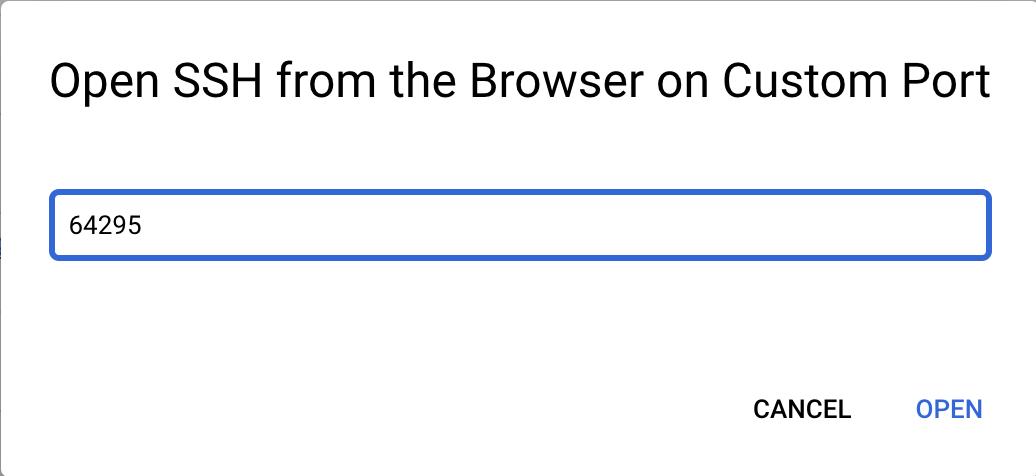
- Use SSH to Connect to the VM through GCP Console (Custom Port):
Verify T-Pot Services:
Run the following command to ensure all services are active:
tomi_mulhartono@tpot-honeypot:~$ dpswLook for the Up status for all honeypot services.
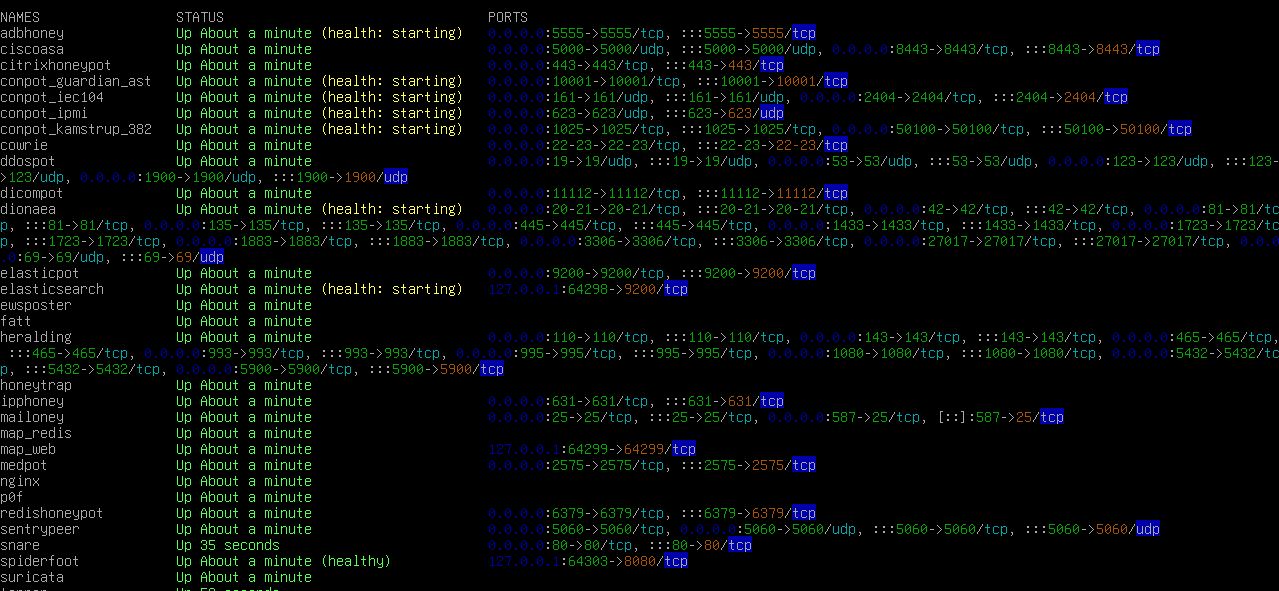
Access the Web UI:
Open your browser and navigate to
https://[VM_External_IP]:64297.Log in using the credentials you set during installation.
Explore T-Pot’s dashboard, attack maps, and data visualizations.
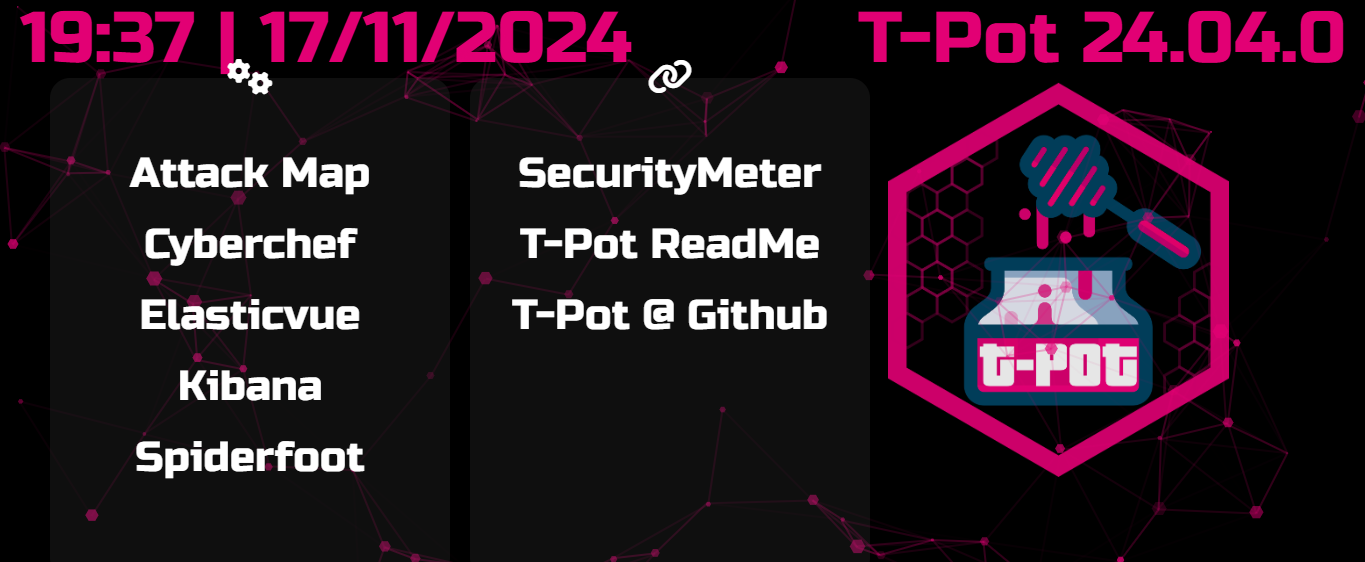
Explore the Data
After a few hours, you’ll start seeing real attack data. Highlights include:
- Attack Maps: Visualize attacks in real-time.
- Logs: Review honeypot-specific logs for SSH, Telnet, and other protocols.
- Threat Analysis: Investigate vulnerability exploits like CVE-2023-46604 and more.
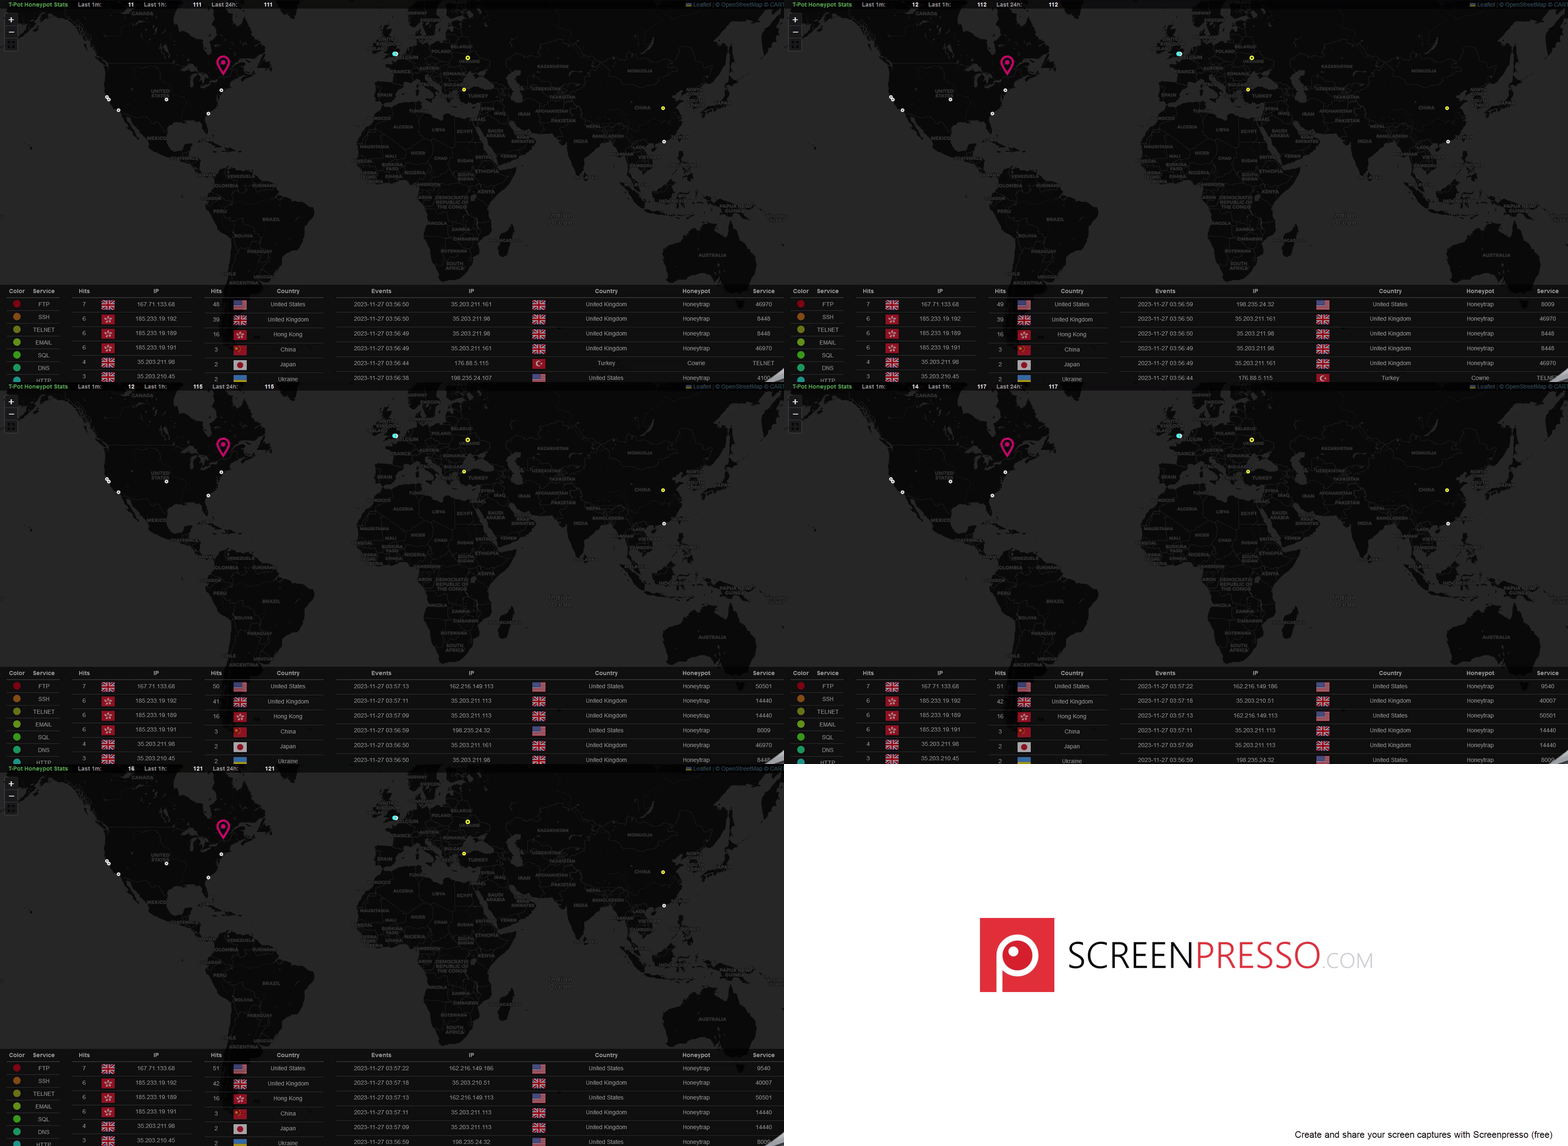
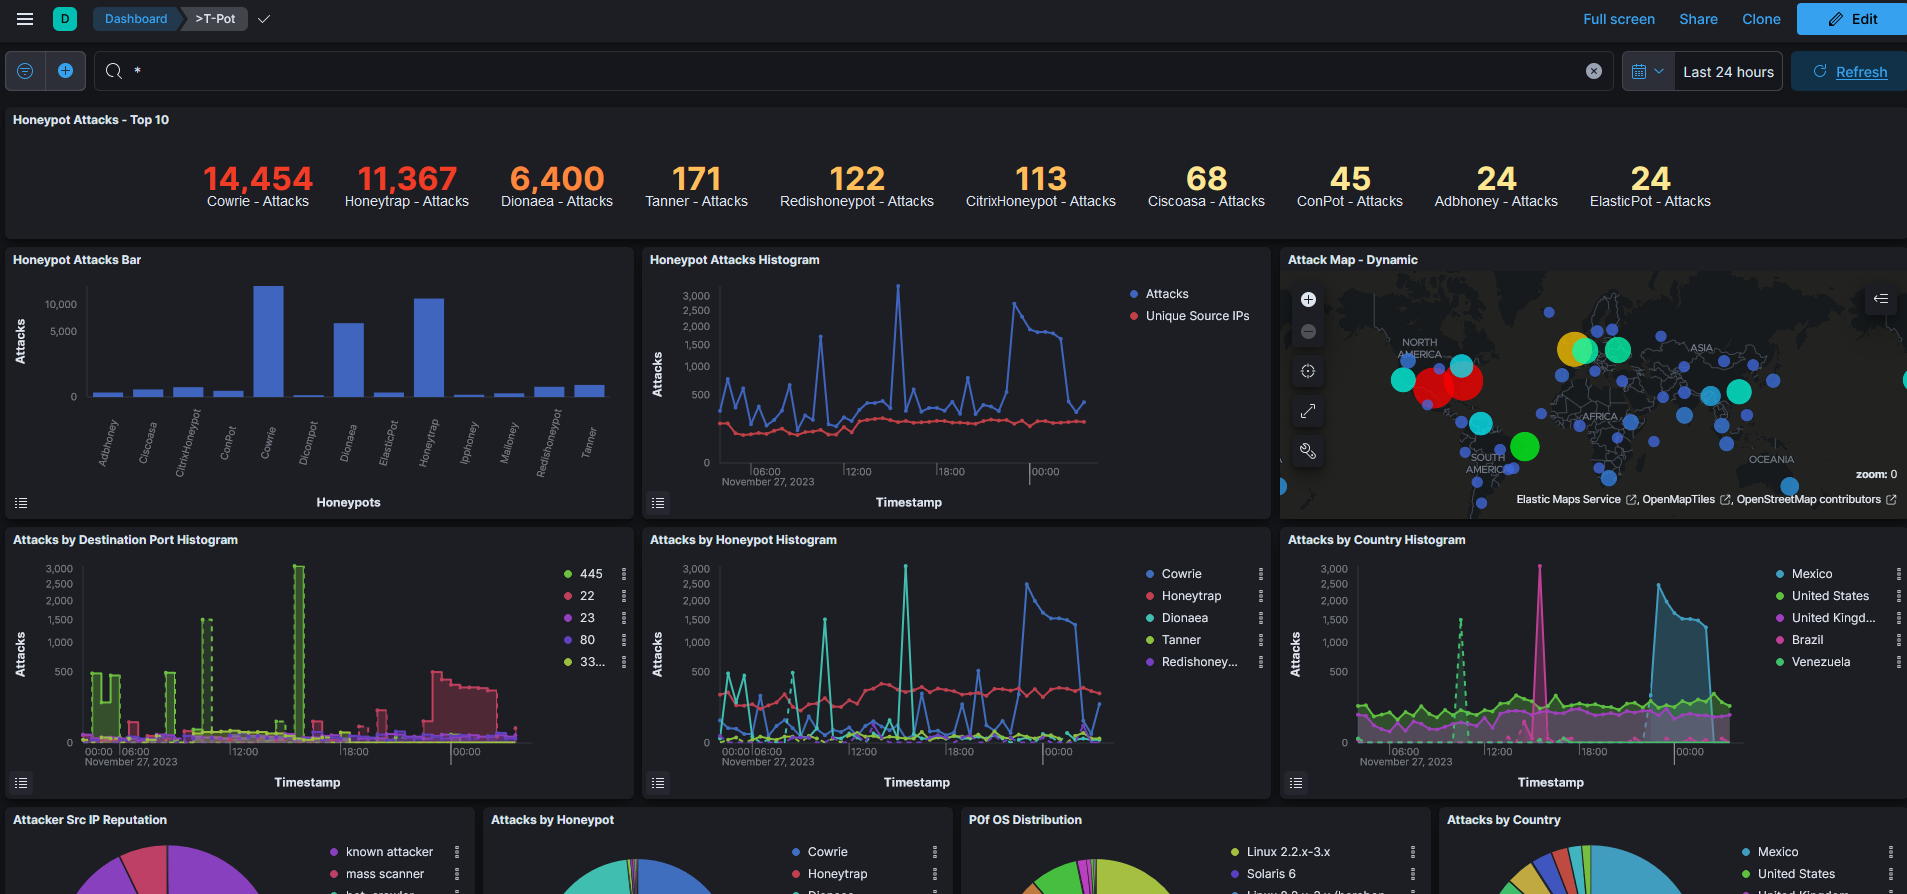
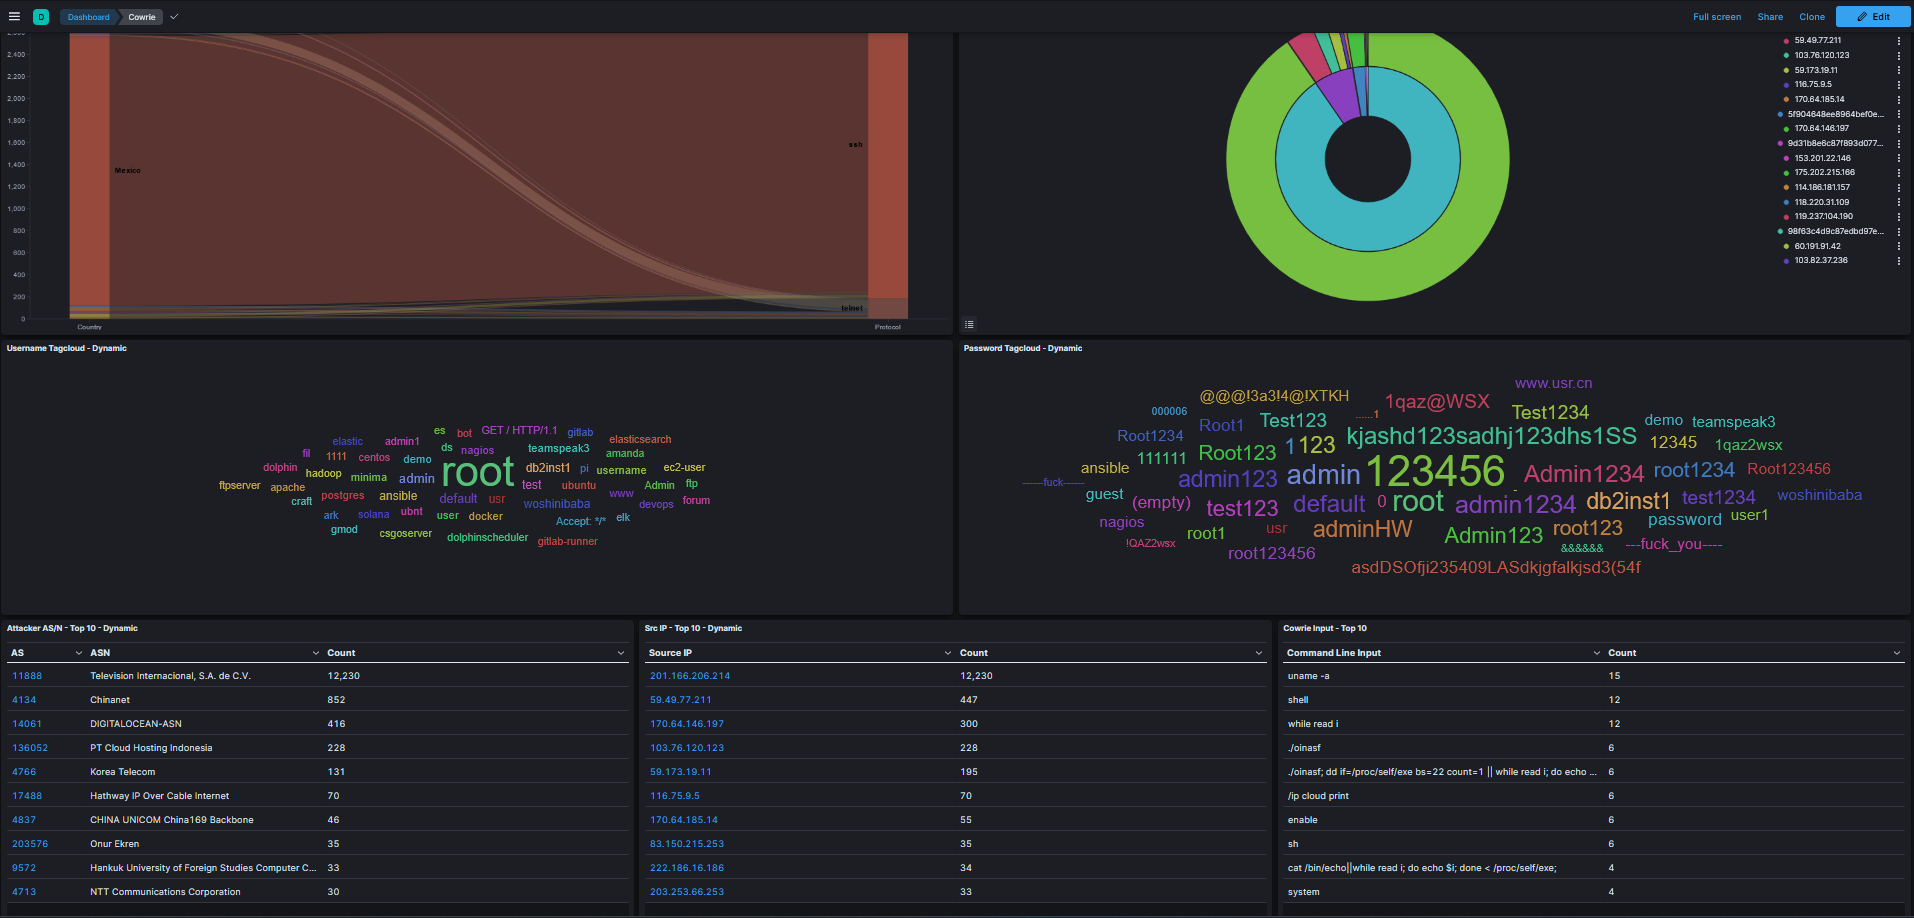
Conclusion
Deploying T-Pot on GCP is a rewarding exercise for anyone interested in cybersecurity. You now have a fully functional honeypot collecting and visualizing attack data. Experiment with different configurations, analyze the results, and gain valuable insights into attack patterns.
Remember, always monitor your GCP billing to avoid unexpected charges. Enjoy exploring the fascinating world of honeypots with T-Pot!